Showing posts with label breakfast. Show all posts

Friday, January 10, 2014

scones revisited

I know, I know- I've already posted about our family's favorite scones.  But since I made a huge batch the other day (some for the freezer!), we have been having scones and tea in the afternoon. 
 It's so cozy!  Especially on a snowy afternoon like today.  
We just snuggle up on the couch with our treat and a few books, cover up with a quilt and we are set.


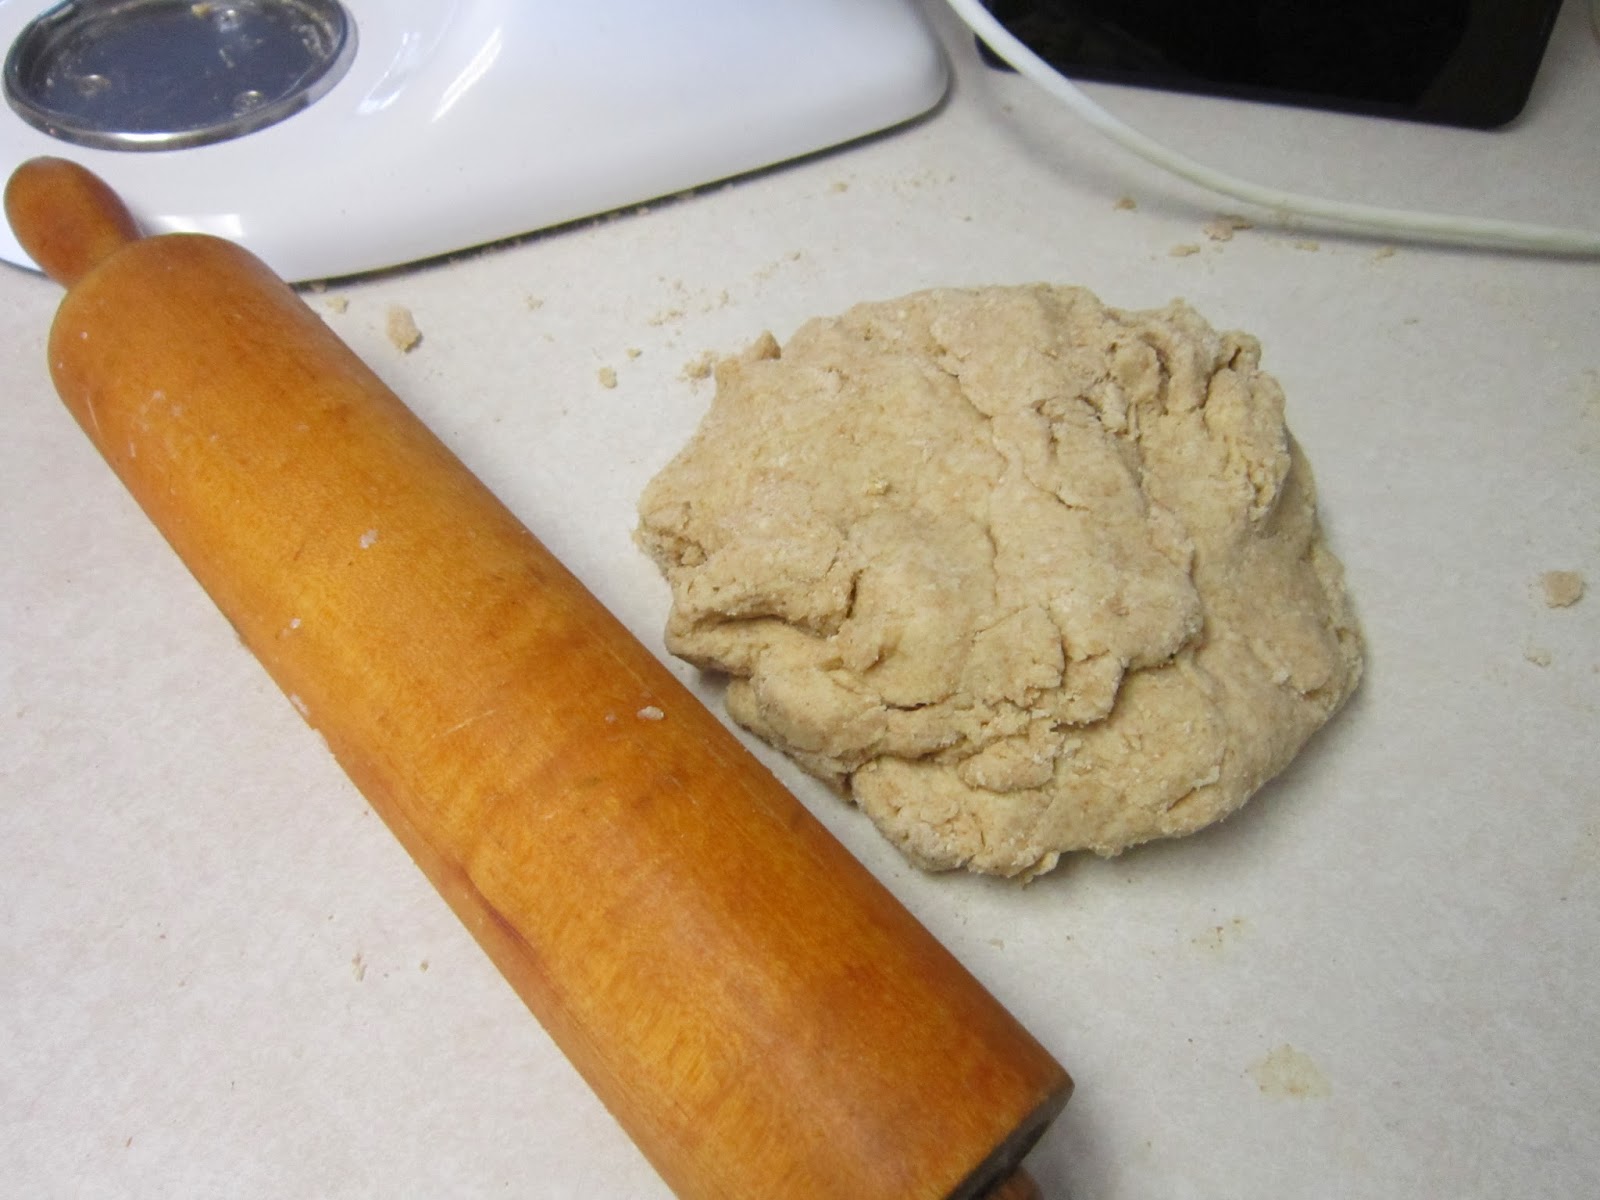
 Don't have any scones in your freezer ready to heat?  It's ok- it only takes a few minutes to mix the dough and then your house will smell heavenly and warm while they are baking.  My girls like to help my roll out the dough.  Enjoy!


Wednesday, January 8, 2014

Nana's House OR Ebelskivers

I remember walking through the thrift store and spotting the treasure...an abelskiever pan!  
Who would give this away?  I though to myself.  What a find!  
As I held that pan, memories of breakfast at my Nana's house rushed in.  
Her big table with all the cousins and aunts and uncles around it.  
Homemade syrups in cut glass decanters.  
Jars of varied homemade jams with little spoons for serving.  
Big platters of fruit with Nana's silver tongs.  
And piles and piles of these little abelskievers- hot and crisp.


Abelskivers or ebelskivers?  Not sure.
I am sure of the taste.  
Light and fluffy with a hint of jam hidden in the middle.  
Just like Nana makes.

Abelskievers are a tradition in our family.  On Sunday morning conference, New Years day and any other big holiday brunch- they are the coveted item.  Is it because of the childhood nostalgia that ties them to my tastebuds?  Or is it because I rarely make them at home for my own family so they seem like a special treat?  They are simple as pancakes to whip up, so my New Year's resolution is to eat these at least 6 times in 2014!


Ebelskievers
  • 3 large eggs
  • 2 tablespoons granulated sugar
  • 3 cups buttermilk
  • 1 teaspoon vanilla
  • 1/4 cup plus 2 tablespoons vegetable or canola oil
  • 3 cups flour
  • 1 1/2 teaspoons baking soda
  • 1/2 teaspoon baking powder
  • 1/2 teaspoon salt
Directions
  1. In a large bowl, whisk together the eggs and sugar. Mix in the buttermilk, vanilla and oil. Stir in the flour, baking soda, baking powder and salt until just combined.
  2. Pour 3-4 tablespoons oil in a small cup and keep near the stove. You'll need a pastry brush or paper towel to rub oil into the pan between batches.
  3. Preheat an ebelskiver pan over medium heat for 4-5 minutes until hot (the batter should sizzle when poured into the pan - but take care it isn't so hot to burn the ebelskivers). Brush each cup with a tiny bit of oil.
  4. Pour enough batter into each cup to fill about 3/4 of the way. If you are planning on adding a filling (like fruit/jam, etc.) don't fill quite as full. Let the ebelskivers cook for a minute or so until tiny bubbles begin to show on the surface and the edges look like they are setting a bit. Add any filling to the center of the batter at this point and top with a tiny bit of batter to cover.
  5. Using a long, thin tool (chopsticks work well), push the tip into the middle of the batter to the bottom of the cup and gently lift the ebelskiver so that it turns and the cooked part is lifted out of the pan. The uncooked batter will run into the bottom of the cup.
  6. Let the ebelskiver cook a bit more (it will depend on how hot your pan is - don't let them burn!) and turn again, slightly twisting so the seam from the first turn lifts out of the cup, with the needle so that it begins to form a ball shape. If the cooking process seems confusing, just simply keep turning the ebelskiver so it doesn't burn and so that it cooks evenly on each side.
  7. Again, let it cook for a minute and then turn again so the opening is now on the bottom of the hot pan to cook all the way through.
  8. I like to toss the cooked ebelskivers in a 9X13 pan and keep them in a warm oven (about 175 degrees or so) until they are all cooked. Serve warm with any variety of toppings: syrup, fruit and whipped cream, nutella, powdered sugar, jam. The options are endless!

Wednesday, December 11, 2013

sweet stuff OR Vanilla Buttermilk Syrup

I used to love the store-bought, butter flavored syrup.  I'd load up my short stack and scoff as my dad would pour on just a few tablespoons of pure maple syrup onto his pancakes. 

As I've had less and less sugar in my diet, I've found that the commercial syrup is just simply too sweet.  Plus, it seems to have this chemical-ish aftertaste that I just don't enjoy.  Suddenly, I've developed a taste for that real maple flavor.  Don't get me wrong, maple syrup is still sweet.  But this seems to be a real sweetness.  When you use the good stuff, you don't need as much to pack the same flavor punch. 

Another favorite, and breakfast standby at our house, is Vanilla Buttermilk Syrup.  It comes together while you are flipping pancakes or baking waffles and tastes oh, so much better than that store-bought stuff. No, it's not low-fat, or even low sugar- but with the tangy buttermilk and sweet vanilla flavor- you don't need much to make your waffles taste like heaven!

Vanilla Buttermilk Syrup

1 cup sugar
1/2 cup buttermilk
1 cube butter
1/2 tsp soda
1 tsp vanilla

Mix sugar, buttermilk, butter and soda in saucepan; boil for 1 minute.  Take off the heat and add vanilla.  Stir to combine.  Enjoy!

Tuesday, December 10, 2013

a tasty experiment OR pumpkin waffles

I was in the mood for waffles.

I like to make a double batch and freeze some to pop in the toaster in the morning.  My very own, delicious Eggos, if you will.  But, I was in the mood for something different...pumpkin.  In October, there seems to be an influx of pumpkin recipes everywhere.  But pumpkin is good anytime.  I love the earthy flavor and creamy texture, especially in baked goods. 

So I thought I would just make my regular waffle recipe and add pumpkin.  Moral of the story:  that doesn't work.  After doctoring the batter for a half hour, I finally tossed the whole yucky mess and started fresh.  A little searching and some more experimenting- this recipe rose to the top.
This batter is simple and comes together in a flash.  The finished crispy waffles are wonderful with a drizzle of maple or vanilla syrup.  My girls like them best sprinkled with mini chocolate chips.

 (While the waffles are cooking, don't forget to make that vanilla syrup!  I'll post the recipe soon!)

To freeze, let the waffles cool completely.  Stack waffles with a piece of waxed paper in between each one.  Place in a freezer zip-top bag.  To heat, just pop in your toaster until golden and warmed through.


Pumpkin Waffles

Combine dry:
2 cups flour
1/2 cup sugar
1 Tb baking powder
1 tsp cinnamon
1 tsp nutmeg
1/2 tsp salt

Combine wet:
2 eggs
1 1/2 cup milk
4 Tb melted butter
1/2 cup canned pumpkin

Add wet to dry mixture and combine.  Pour onto a hot waffle iron and bake until crispy and golden.

Sunday, October 6, 2013

i know for sure it's fall OR applesauce

This is what my kitchen looked like this weekend:


Awesome, right?

I know it's fall when my house smells like sweet apples and cinnamon.  My kids and I went to our kind neighbors house and picked and picked and picked apples this week.  The snappy fall air and the bright colored apples got me thinking of all my favorite apple treats.  Applesauce is high on the list.  It's always been a hit at our house, and my girls love to have it warm as a fall afternoon snack.  This is a simple recipe that can be easily doubled.


Enjoy a few of my favorite apple recipes this week!

Bryttin's Easy Applesauce

8-10 apples, cored, peeled and sliced
1 cup water
1 tsp. lemon juice
1/3 cup sugar
1 Tb. cinnamon

Place all ingredients into a large pot set on medium high heat.  Stir well to combine and stir every few minutes.  Let apples soften completely, about 10 minutes.  Using your immersion stick blender, blend smooth.  (Don't have one?  Ladle into your blender and blend in batches- making sure to vent the lid.  Or just mash with a potato masher for chunky sauce.)  Eat warm!  Or ladle into jars to can or store in the fridge.

Thursday, May 2, 2013

my staple breakfast OR mango coconut smoothie

I had never had coconut milk until about 4 months ago.  I sort of pigeonholed it as some odd boxed drink for those cursed with lactose intolerance.  Oh yes, I made coconut rice or coconut cake occasionally. But it was always just an ingredient.

Now- I drink it every day!

The past few months have been chock full of changes in our family's diet.  Lucky for us, coconut milk is now a part of our mornings.  Smoothies have always been a favorite around here. We love the sweet pineapple in this one. Some mornings, if I am feeling extra healthy, I make it "green" with a few handfuls of spinach. Enjoy!

Mango Coconut Smoothie
serves 1-2, depending on thirst :)

1/2 cup frozen or fresh mango
1/4 cup frozen pineapple
coconut milk- some. Maybe 1/2 cup or so-ish.

Combine the fruit in the blender, add two splashes of milk. Blend on high, streaming in coconut milk until well blended and at the desired consistency. (We like ours thick, like a milkshake.)

Tuesday, January 29, 2013

sweet OR scones for breakfast

My daughters have been sick the past few days.  As hard as it is on the girls, it's hard on me too.  I hate seeing my kiddos sick and miserable.  When I was younger, I remember my mom making us popcorn for a treat when we were sick.  (Also when we weren't sick.  Really, popcorn was just an all around wonderful snack...but that's another post.)  Mom would read to us, let us eat on the couch and drink Sprite from a straw.  Even though we didn't like being sick, it was pretty nice to be treated to something special by a caring mom.

My sick girls requested cinnamon scones for their "sick treat".  I was happy to oblige, since these are one of my favorites, too.  There is something about that sweet, spicy smell wafting from the oven that makes you feel better.  Along with some hot chamomile tea, they will fix whatever is ailing you.  Another bonus to these scones- they freeze beautifully.  I've taken to making a double batch, freezing them, then bagging them.  When we are in the mood for a warm breakfast, I take out a few and pop them in the oven to bake while I mix up some yogurt and fruit to go along side. 


CINNAMON SCONES
original recipe from Good Cheap Eats, I've adapted it a bit

5 cups flour- can be a combination of white and whole wheat
1/4 cup brown sugar
1/2 cup white sugar
1-3 Tablespoons of cinnamon- depending on how spicy you like it!
1 Tablespoon baking powder
1 teaspoon baking soda
1/2 teaspoon salt
3/4 cup butter, cut into cubes
1 1/2 cup half and half- I use milk if that's what I've got on hand

In large bowl combine flour, sugar, cinnamon, baking powder, baking soda, and salt. Cut in butter until coarse crumbs form. Add half and half.   Fold gently until combined. Turn out onto floured surface and knead gently until dough comes together. Pat or roll to 1 inch thickness. Cut into squares. Bake for 15 minutes at 375° or flash freeze and store in the freezer.  If baking from frozen, increase baking time 5 minutes.


Thursday, January 10, 2013

magic in the oven OR popovers

My Grammy is a fabulous cook.  But one of my favorite things she makes have the most simple ingredients.  Milk, eggs and flour blend together and make steamy heaven that is a popover.  If you listen to Grammy, they are very temperamental.  She told me that for years and years she's tried to perfect her popovers.  She's experimented with different ratios of ingredients, new special pans, every recipe from all her friends, resting the batter for hours or changing the oven temperature.  I think she is her toughest critic!  Eating her hot popovers at the kitchen table is really a slice of heaven.  Grammy may bluster a bit about how they didn't puff up enough- but they always seem to turn out perfect to me.  I'm grateful for her careful tutelage, and her tried and true recipe for one of my favorite breads. 

It seems that whenever we are at the cabin together and she is short her special popover pan, baking at a different altitude and working with a wonky oven- even then, the popovers always turn out yummage.  Creamy and puffed with a little golden brown crunch on the outside.  Sure, they may be best served hot out of the oven- but that has never stopped me from spreading the leftover popovers with jam for breakfast the next morning.  I do have a specific popover pan for mine, but we've used glass and ceramic ramekins on a baking sheet in the oven and had delicious results.


GRAMMY'S POPOVERS

Preheat oven to 450.  Heat pan and turn temperature to 425.

Combine in your blender:
1 cup milk
1 cup flour
3 eggs
2 tsp. oil
1/2 tsp. salt

Blend on high for about 15 seconds.  Remove popover pan from the oven and add about a teaspoon of butter to each cup.  Fill popover cups about 1/2 to 3/4 full, depending on how large you want your popovers to be. Bake for 20 minutes at 425, then lower the heat to 350.   Continue baking for 15-20 minutes more- until the popovers have popped and turned golden brown.

Serve immediately.