Showing posts with label breads. Show all posts

Friday, January 10, 2014

scones revisited

I know, I know- I've already posted about our family's favorite scones.  But since I made a huge batch the other day (some for the freezer!), we have been having scones and tea in the afternoon. 
 It's so cozy!  Especially on a snowy afternoon like today.  
We just snuggle up on the couch with our treat and a few books, cover up with a quilt and we are set.


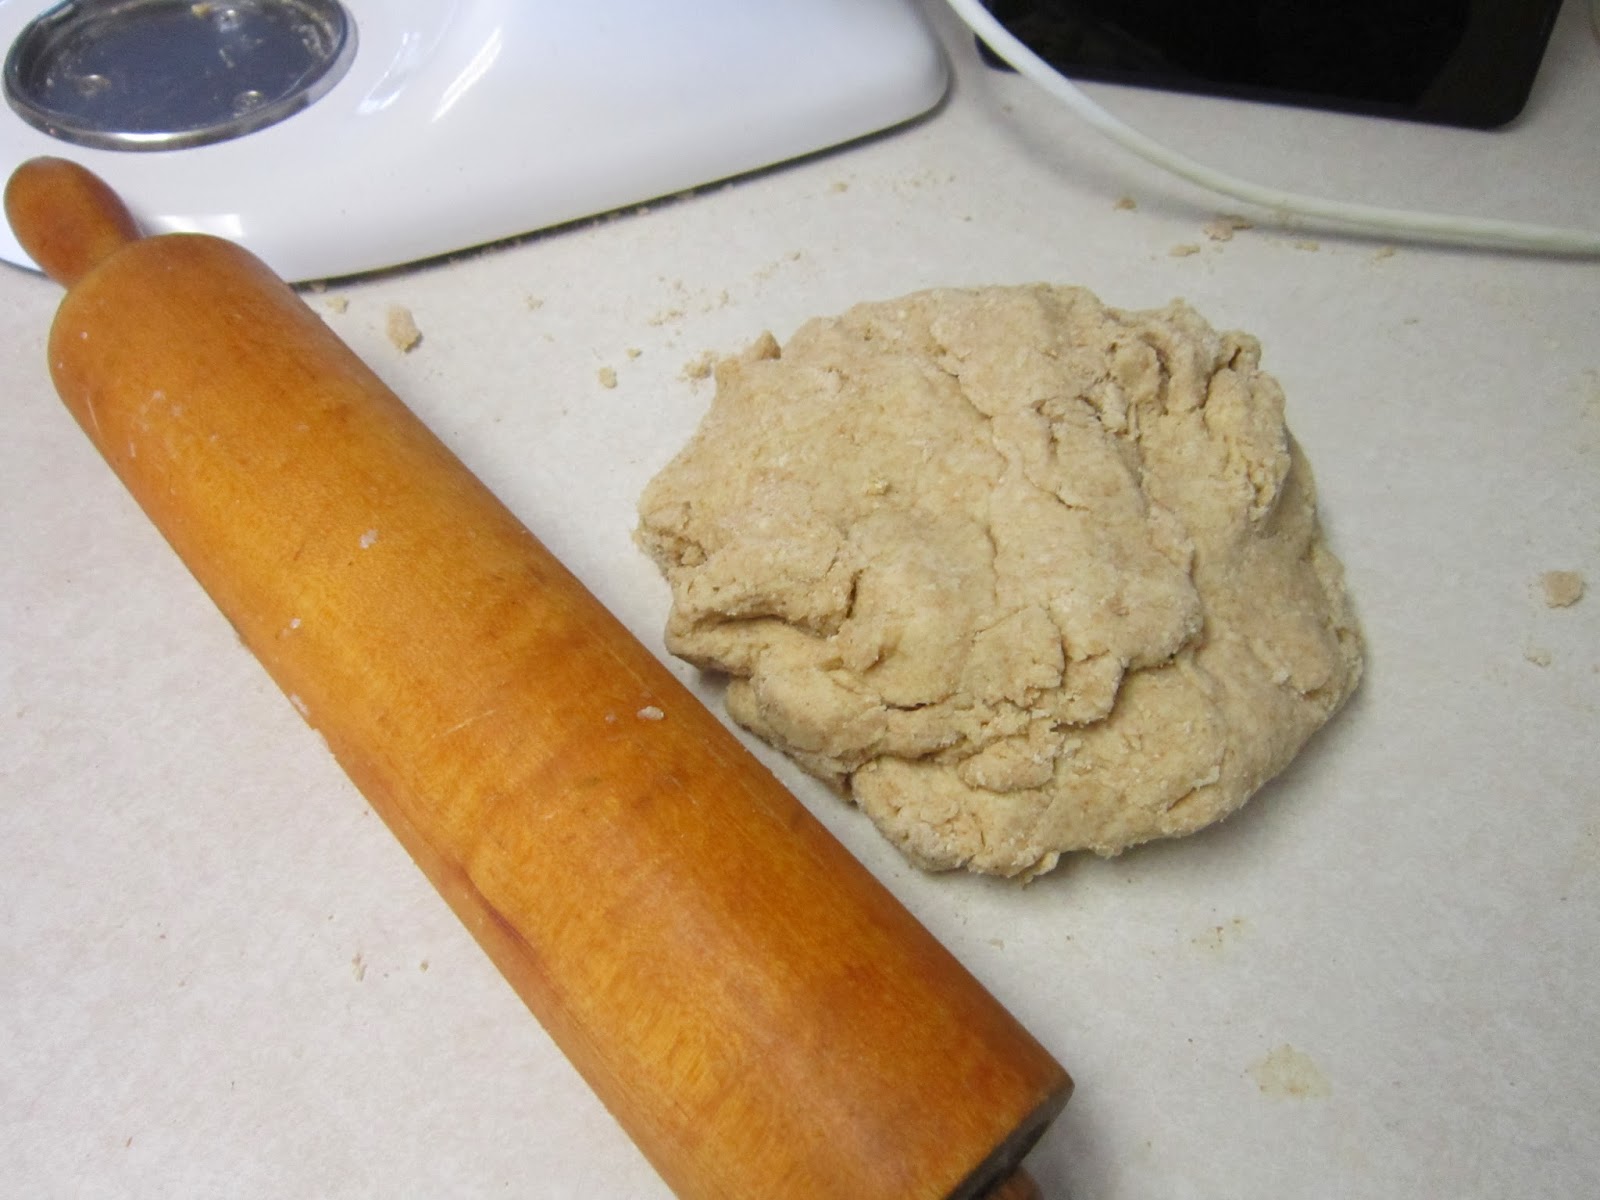
 Don't have any scones in your freezer ready to heat?  It's ok- it only takes a few minutes to mix the dough and then your house will smell heavenly and warm while they are baking.  My girls like to help my roll out the dough.  Enjoy!


Saturday, December 7, 2013

sunday afternoon OR Jason's breadsticks

Sometimes there is a magical Sunday afternoon when my husband is home.  I can tell that it's going to be an extra special afternoon if he mentions, "I'm in the mood for breadsticks." 

Here's the scoop:  Jason doesn't have time to cook much, but when he does- be ready for awesomeness.  His breadsticks are heavenly. 


To begin, he turns on some music and dons an apron.  When he starts pulling salt and flour down from the cupboards, the girls figure out that something amazing is about to happen and pull their stools over to the counter so they can "help daddy."  He mixes and rolls and sprinkles.  While everything is rising, our family takes to the living room to dance to daddy's music.  This usually turns into either a twirling contest or a tickle fight.  Dad wins.  

Then the breadsticks bake up and we win.  The girls like their buttery parmesean coated fingers and ask for just one more before dinner.  I say, "This is dinner!" and we eat the whole pan.

Like I said, a magical Sunday afternoon.


Jason's Breadsticks

1 pkg. yeast
1 1/2 cup warm water
1 Tbsp. honey
1 tsp. salt
about 3-4 cups flour
melted butter
Parmesean cheese

Dissolve yeast in the water.  Add honey and salt: mix.  Add flour to the right consistency.  Knead a few mi ntues.  Pull of pieces and roll to look like sticks.  Roll to about the size of a woman's thumb.  Place on a greased cookie sheet.  Brush melted butter on top of sticks.  Sprinkle cheese on top.  Allow to rise, covered, for 30 minutes.  Bake at 400 for 10-15 minutes.

Saturday, September 28, 2013

a classic OR spiced zucchini bread

I think quick breads are the Little Women of baking. 
They are just classics.
Banana bread and applesauce bread are two of our favorites.  And this time of year, we slip into this delicious fall Spiced Zucchini Bread.  I love the smell of the cinnamon, cloves and allspice warming my kitchen as this bread bakes.  The flecks of green look lovely in this sweet bread.  Bonus:  it freezes beautifully. 


I let it cool completely then wrap it in plastic and then foil.  Don't forget to label!  There is nothing better than pulling out a loaf of this yummage bread in mid-February and enjoying it warm, slathered in butter.  Make a few extra loaves this fall!


Spiced Zucchini Bread
from Bryttin
makes 2 loaves

3 cups shredded zucchini
1 2/3 cups sugar
2/3 cup vegetable oil
2 tsp. vanilla
4 large eggs
3 1/2 cups flour
2 tsp. baking soda
1/2 tsp baking powder
1 tsp. salt
1 Tb. cinnamon
1 tsp. cloves
1 tsp. allspice
1 tsp. nutmeg
1/2 cup chopped nuts (optional)

- Heat oven to 350.  Grease the bottom of two loaf pans.
- Mix zucchini, sugar, oil, vanilla and eggs in a large bowl until smooth.  Stir in remaining ingredients.  Add nuts, if using.
- Divide batter into pans and bake for 50-60 minutes or until a toothpick comes out clean.  Cool 10 minutes on a wire rack.
- Loosen sides and turn out loaves to cool completely before freezing.  Otherwise, slice and eat warm!

Wednesday, September 25, 2013

chocolate cake for breakfast! OR the best chocolate zucchini bread

Growing up, my siblings and I loved listening to Bill Cosby's standup routines on tape. 
One of our favorite bits he did was the "dad lets us eat chocolate cake for breakfast".  He tells how his kids begged for chocolate cake for breakfast.  As he thought through the ingredient list: 
Milk!  Health food!
Flour!  Health food!
Eggs!  Healthy!
So he sliced off a piece for each of his kids and watched their happy faces as they ate chocolate cake for breakfast.  "Dad is great....gives us the chocolate cake" the kids sang. 


This is that cake. 
I like to call it "bread" so we can eat it just about anytime!
It's moist, chocolatey and super yummage. 
And healthy!  That's right. 
Just look at the ingredient list: 
Flour!  Healthy!
Eggs!  Health food!
Zucchini!  Vegetable!

We eat this warm for breakfast and also for dessert with a dollop of whipped cream.

Chocolate Zucchini Bread {makes 2 loaves}
Recipe by Our Best Bites

2 C flour
2 t cinnamon
1/2 t salt
1 1/2 t baking soda
6 T unsweetened cocoa powder
1/2 C canola oil
1 C sugar
1/4 C brown sugar
3 eggs
2 t vanilla
1/2 C sour cream
3 C grated zucchini
3/4 C mini chocolate chips
optional: zest from one orange
Topping:
2 T brown sugar
2 T white sugar
1/2 t cinnamon
Preheat oven to 350 degrees. Butter and flour 2 loaf pans and set aside. Mix topping ingredients in a small bowl and set aside.
Place flour, cinnamon, baking soda, salt, and cocoa powder in a small bowl and whisk to combine. Set aside.With a stand or hand mixer beat oil, white sugar, brown sugar, and eggs until combined and slightly fluffy, 1-2 minutes.
Add vanilla and sour cream and mix until combined.
Gently stir in the grated zucchini (and zest if you’re using).Take a spoonful of the flour mixture and stir in with the chocolate chips (that will help keep them evenly distributed.)Add the remaining flour mixture to the batter and stir just until combined. Add chocolate chips and stir to combine.
Divide the batter between the two pans. and sprinkle topping over each. Place pans on a cookie sheet for easy moving.  Bake in your preheated 350 degree oven for 50-60 minutes. I set my timer for 45 minutes and then keep an eye on it for the remainder. Ya never know how different ovens handle things.
When it’s done a toothpick or skewer should come out without goopy batter on it and the top will be gorgeous and cracked with sugar.  Let it cool on a rack for 5-10 minutes and then remove from pans.

Sunday, September 22, 2013

storing up for the winter OR zucchini bread

It seems to happen every year. 


That big green veggie comes into my kitchen by the armful.  Friendly neighbors sharing their garden's bounty with me.  I love squash, especially zucchini.  But September seems to overload my system.  That's why shredding it up and making a few breads to stick in the freezer always seems to happen at the time of year, too.  I'll be sharing a few of my favorite zucchini bread recipes over the next few days.

My preschooler helped me shred big green chunks of squash on the box grater as we listened to music and danced in the kitchen.  She's getting so big.  I sometimes wish I could just freeze her at this age right along with my zucchini bread!  We made a double batch of everything and still had squash leftover.  Looks like another baking/dancing day is in order at my house. 

I found this delicious cornbread on Pinterest and have ended up loving this blog, Mostly Foodstuffs.  She has lots of yummage recipes- check it out!


Brown Butter Zucchini Cornbread

from Bon Appetit, via Epicurious
yields 1 loaf


1 good-sized zucchini (about 12 ounces)
1 cup flour
1/2 cup whole wheat pastry flour (or just use additional flour)
1 teaspoon baking powder
1 teaspoon baking soda
1 teaspoon coarse salt
3/4 cup medium-grind cornmeal (standard cornmeal would work fine)
1/2 cup (1 stick) unsalted butter, plus additional for greasing pan
1/2 cup buttermilk
2 large eggs
1/3 cup sugar, plus additional coarse sugar for sanding the top

Preheat your to 350° Fahrenheit. Butter and flour a loaf pan, and set aside.
Trim the ends off the zucchini, and slice a half-dozen whisper-thin slices off to reserve as garnish. Grate the remaining zucchini on the coarse holes of a grater, then set aside in a colander to drain while you prepare the rest of the recipe.
In a large bowl, sift together the flours, baking powder, baking soda, salt and cornmeal. Set aside.
Melt the butter in a small saucepan over medium-high heat. Continue cooking until butter solids at bottom of pan turn golden brown, about 3 minutes, then pour out into a medium bowl. Let cool slightly, then pour in the buttermilk, whisking to help cool the butter and take the chill off the buttermilk. Add the eggs and sugar, and whisk well to combine. Give the zucchini a quick press in the colander to release any liquid, and stir into the bowl as well.
Gently fold the dry mixture into the zucchini mixture, stirring until *just* combined (the mixture will be quite thick). Pour into your prepared pan, and smooth the top. Gently lay the reserved zucchini slices in a row down the top, then sprinkle generously with coarse sugar. Bake until golden and a tester comes out clean, ~45 minutes to an hour. Let cool in pan for 15 minutes, then turn out onto a rack and cool fully before slicing.

Thursday, March 21, 2013

Lyv's favorite OR the Best Burger Buns

My daughter Lyv adores hamburgers. 
She loves a heathly dose of mustard atop her bun, covered with a juicy burger, lettuce, tomatoes, a slice of real cheese and a big slice of pickle.  What can I say- mom and dad have taught her well. She'll order a hamburger just about anywhere we go.  And during the summer, it's our most requested dinner.  Oh, sometimes we'll change up the toppings and add garlic, carmelized onions or bbq sauce.  But a big, classic burger is everyone's favorite.

Nothing is worse than a flimsy bun that falls apart when you take the first bite of that juicy burger.  No!  We want something substantial that will hold up and even, gasp, impart some flavor to the party!  These are my favorite buns.  They are a snap to put together, very flavorful and even freeze well.  I make these into hot dog buns as well.

Best Burger Buns
from King Arthur Flour


  • 3/4 to 1 cup lukewarm water
  • 2 tablespoons butter
  • 1 large egg
  • 3 1/2 cups flour
  • 1/4 cup sugar
  • 1 1/4 teaspoons salt
  • 1 tablespoon instant yeast
  • *For best results (a smooth, slightly soft dough), use the smaller amount of water in summer (or in a humid environment), the greater amount in winter (or in a dry climate); and something in between the rest of the time.
  • 3 tablespoons melted butter

Directions

1) Mix and knead all of the dough ingredients — by hand, mixer, or bread machine — to make a soft, smooth dough.
2) Cover the dough, and let it rise for 1 to 2 hours, or until it's nearly doubled in bulk.
3) Gently deflate the dough, and divide it into 8-10 pieces. Shape each piece into a round ball; flatten to about 3" across. Place the buns on a lightly greased or parchment-lined baking sheet, cover, and let rise for about an hour, until noticeably puffy.
4) Brush the buns with about half of the melted butter.
5) Bake the buns in a preheated 375°F oven for 15 to 18 minutes, until golden. Remove them from the oven, and brush with the remaining melted butter. This will give the buns a satiny, buttery crust.
6) Cool the buns on a rack.

Friday, January 11, 2013

parenting OR sandwich bread

When I took my oldest daughter in my arms for the first time, I waited for that magic that every baby book describes.  You know the one?  Where mother and child bond instantly in one sweet, loving look and are forever in harmony?  It didn't happen like that at all.  I felt discouraged, disappointed and a little embarrassed.  What was wrong with me?  Why didn't I feel that instant bond with this beautiful baby girl?  My husband kept assuring me that I'd just had a c-section and after the medicine wore off I'd be more alert and ready for bonding.  But even 24 hours later, I just stared at this perfect sleeping baby in awe and though, "I can't believe I'm a mother."

Of course, I very quickly fell in love with that baby who is now five years old.  She is spunky and creative and pretty darn wonderful.  As she's grown up, she is my right-hand woman when it comes to baking bread.  Since she was a toddler, she's been pouring the milk into the mixer or helping me measure the cups of flour.  That is when I feel the magic the strongest.  Here we are, mother and daughter, doing something we love, together.  I chat with her about preschool and what the yeast does and what her dolls are up to.  She tells me about an art project she's working on, what her friends are like and her birthday party plans (months in advance, of course!).  We bond, bake and the magic settles into the warm kitchen.  And really, there is no greater boost to a mother's spirit than to feed her wide-eyed kiddos warm bread that they've made together, slathered with butter and honey.  I know that even after the hardest day of being the "mean mom", a slice of warm bread is a point for me in the good parent column.

This recipe is my great-grandmother's yeast bread.  It calls for all white flour, but I sneak in half wheat and it turns out heavenly.

GREAT-GRANDMA FOULGER'S YEAST BREAD                  makes 4 loaves

1/4 heaping cup sugar
2 Tb. salt
1/2 cup butter
2 1/2 cups scalded milk
2 cups water
2 packages yeast (2 1/4 tsp each package)
1/2 cup warm water
12-14 cups flour

Dissolve the yeast in 1/2 cups warm water and let rest until bubbly.  Place sugar, salt, butter in a bowl.  Pour the hot milk over ingredients and stir to melt butter.  Add cool water.  Add yeast mixture and stir.  Add in 6 cups flour and stir until smooth.  Add in remaining flour, while stirring, until a dough is formed.  Turn out onto the counter and knead into a ball.  Place dough in a greased bowl and let raise until double in size.  Punch down and divide into loaves.  Let loaves rise in pans for 20-30 minutes.  Bake at 375 for 40-50 minutes.  Turn out loaves and let cool before slicing.  If you can make it that long...
** Note:  I usually make only half of this recipe for my family.  Two loaves can keep us in toast and sandwiches all week.  Sometimes I make the whole recipe and use half for cinnamon rolls or breadsticks or scones.

Thursday, January 10, 2013

magic in the oven OR popovers

My Grammy is a fabulous cook.  But one of my favorite things she makes have the most simple ingredients.  Milk, eggs and flour blend together and make steamy heaven that is a popover.  If you listen to Grammy, they are very temperamental.  She told me that for years and years she's tried to perfect her popovers.  She's experimented with different ratios of ingredients, new special pans, every recipe from all her friends, resting the batter for hours or changing the oven temperature.  I think she is her toughest critic!  Eating her hot popovers at the kitchen table is really a slice of heaven.  Grammy may bluster a bit about how they didn't puff up enough- but they always seem to turn out perfect to me.  I'm grateful for her careful tutelage, and her tried and true recipe for one of my favorite breads. 

It seems that whenever we are at the cabin together and she is short her special popover pan, baking at a different altitude and working with a wonky oven- even then, the popovers always turn out yummage.  Creamy and puffed with a little golden brown crunch on the outside.  Sure, they may be best served hot out of the oven- but that has never stopped me from spreading the leftover popovers with jam for breakfast the next morning.  I do have a specific popover pan for mine, but we've used glass and ceramic ramekins on a baking sheet in the oven and had delicious results.


GRAMMY'S POPOVERS

Preheat oven to 450.  Heat pan and turn temperature to 425.

Combine in your blender:
1 cup milk
1 cup flour
3 eggs
2 tsp. oil
1/2 tsp. salt

Blend on high for about 15 seconds.  Remove popover pan from the oven and add about a teaspoon of butter to each cup.  Fill popover cups about 1/2 to 3/4 full, depending on how large you want your popovers to be. Bake for 20 minutes at 425, then lower the heat to 350.   Continue baking for 15-20 minutes more- until the popovers have popped and turned golden brown.

Serve immediately.